Have you ever wondered if you could make fresh, heart-friendly cheese right in your own kitchen?
I asked myself that same question for a long time.
As someone living with heart failure, every ingredient matters. Store-bought cheese can be high in sodium, preservatives, and additives. I wanted a healthier option that still tasted fresh and satisfying.
So, I finally gave homemade cheese a try.
The best part? It only took a few simple ingredients: whole milk, lemon juice, and a thermometer.
Even better, my first attempt was a huge success.
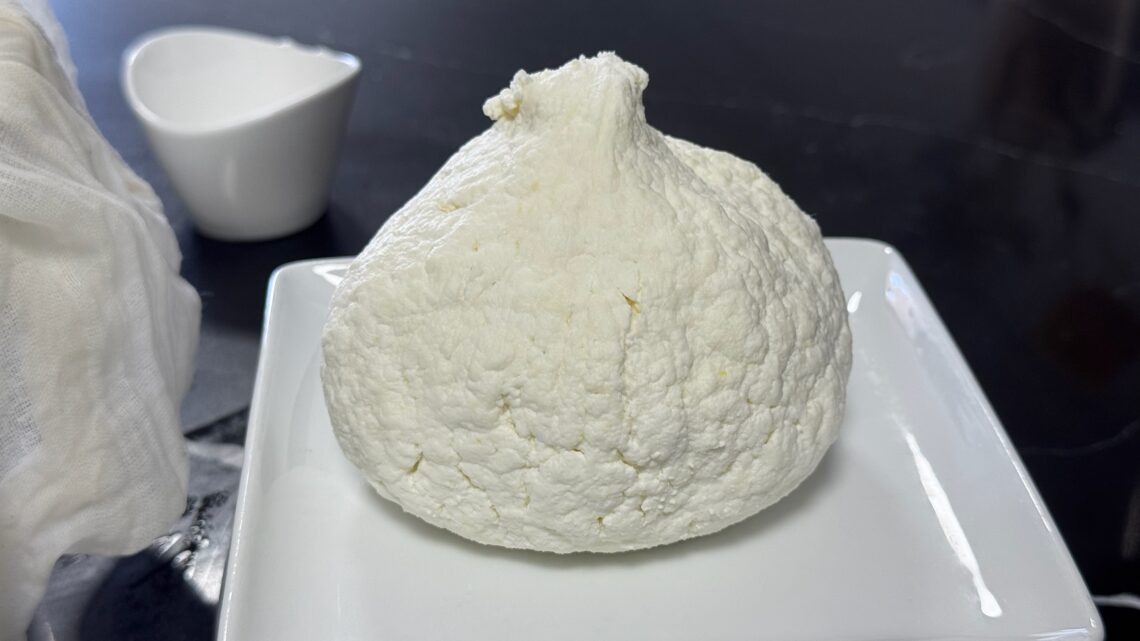
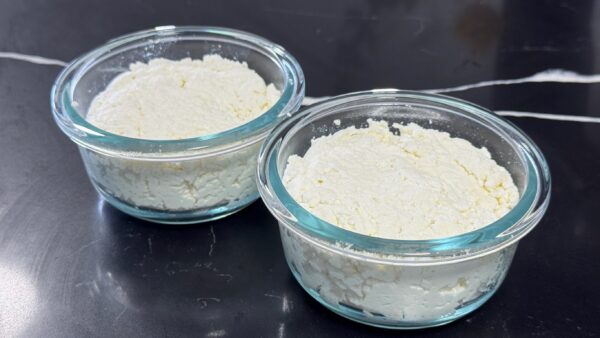
I ended up with more than 300 grams of fresh cheese that tasted creamy, clean, and much better than I expected.
If you have a heart condition or simply want more control over what you eat, making your own cheese at home may be one of the easiest kitchen projects you can start.
Why Homemade Cheese Is the Best Choice for Heart Health
When you live with a heart condition, sodium can quickly become a problem.
Many packaged cheeses contain high amounts of salt to improve flavor and extend shelf life. Some also include preservatives, stabilizers, colorings, and other ingredients you may not want in your diet.
Making cheese at home puts you in control.
Here are some of the biggest benefits:
You control the sodium
Traditional store-bought cheese can contain hundreds of milligrams of sodium per serving.
When you make your own cheese, you decide how much salt goes in—or if you add any at all.
For me, keeping sodium low is important for managing heart failure and reducing fluid retention.
No preservatives or additives
Homemade cheese contains only a few simple ingredients.
That means no preservatives, fillers, or ingredients you cannot pronounce.
Just fresh milk and lemon juice.
You know exactly what you are eating
Reading food labels can be frustrating.
When you make your own cheese, there is no guessing.
You know every ingredient because you added it yourself.
Fresh tastes better
Fresh cheese has a clean, creamy flavor that is hard to match.
It tastes lighter and less processed than many cheeses from the grocery store.
It can save money
Specialty low-sodium cheeses can be expensive and hard to find.
Making cheese at home costs less and gives you a fresh product whenever you want it.
And honestly, it is fun to make.
What You Need
The ingredient list could not be simpler.
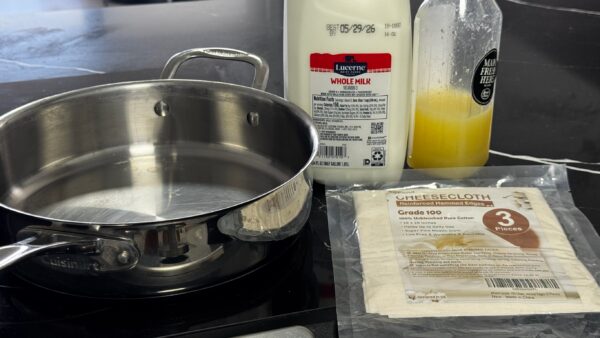
Ingredients
- ½ gallon whole milk
- ¼ cup fresh lemon juice
Equipment
- Large pot
- Cooking thermometer
- Fine mesh strainer
- Cheesecloth or a clean kitchen towel
- Large bowl
- Slotted spoon
Now comes the fun part.
Step-by-Step: How I Made Homemade Cheese
Making fresh cheese sounds difficult, but it is surprisingly easy.
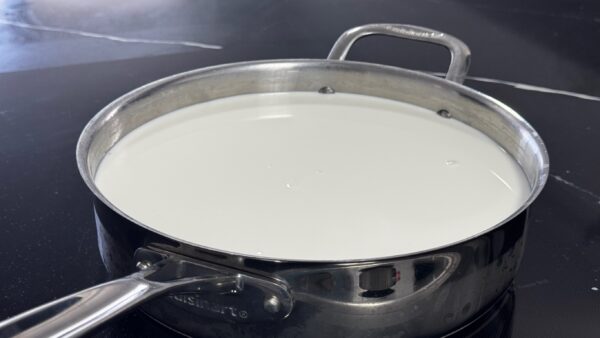
Step 1: Pour the milk into a large pot
Add the ½ gallon of whole milk to your pot.
Place it on the stove over medium heat.
Stir gently every few minutes to prevent scorching.
Clip your thermometer to the side of the pot so you can watch the temperature closely.
Step 2: Heat the milk slowly
Bring the milk to about 185°F.
Do not let it boil.
As the milk heats up, you may notice steam rising from the surface and small bubbles forming around the edges.
This is exactly what you want.
The milk will smell warm and creamy.
Once it reaches 185°F, turn off the heat.
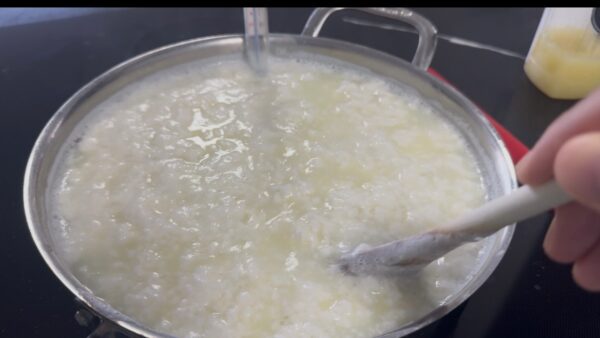
Step 3: Add the lemon juice
Slowly pour in the lemon juice while gently stirring.
Within seconds, you should notice something exciting happen.
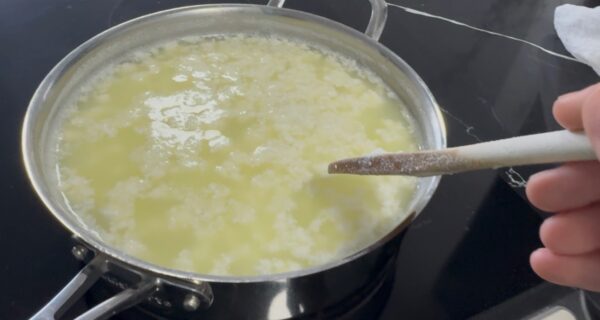
The milk will begin separating into white curds and yellowish liquid.
That liquid is whey.
If the milk does not separate right away, wait a few minutes.
You can stir gently once or twice, but avoid overmixing.
Let the mixture rest for about 10 minutes.
This gives the curds time to fully develop.
Step 4: Strain the curds
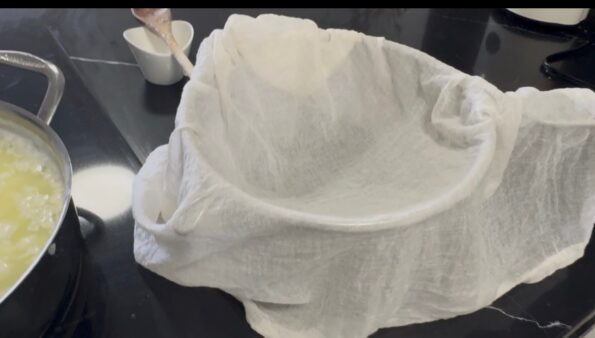
Place your cheesecloth-lined strainer over a large bowl.
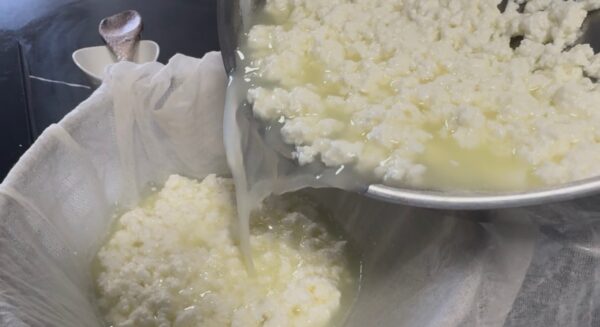
Carefully pour the curds and whey into the strainer.
The whey will drain into the bowl while the curds stay in the cheesecloth.
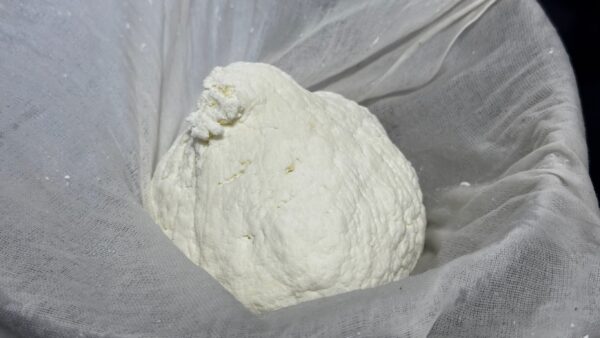
At this point, the cheese may look soft and delicate.
That is normal.
Let it drain for 15 to 30 minutes, depending on how firm you want the cheese to be.
The longer it drains, the firmer it becomes.
Step 5: Shape and chill
Once most of the liquid has drained, gently squeeze the cheesecloth to remove extra moisture.
Be careful not to squeeze too hard.
Transfer the fresh cheese to a container and refrigerate it.
After chilling, the texture becomes firmer and easier to slice or crumble.
Now comes the best part.
The taste test.
What to Expect During the Process
If this is your first time making cheese, do not worry.
The process is simple and very forgiving.
Here are a few things you can expect:
- The milk should never boil.
- Curds will separate quickly after adding lemon juice.
- The whey will have a pale yellow color.
- Fresh cheese feels soft and slightly crumbly.
- The flavor is mild, creamy, and fresh.
If your curds seem small, do not panic.
They usually come together as the cheese drains.
If the cheese feels too wet, let it drain a little longer.
Every batch teaches you something new.
The Results: More Than 300 Grams of Fresh Cheese
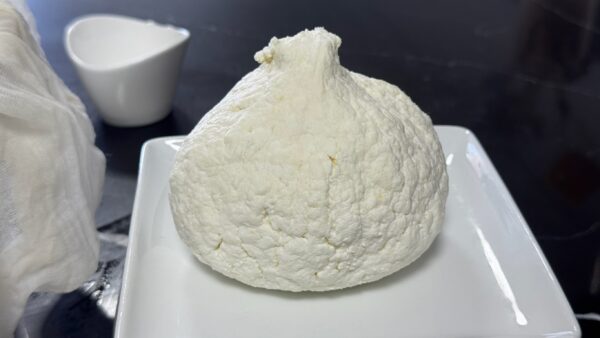
I was honestly surprised by the final yield.
Using just ½ gallon of whole milk, I produced more than 300 grams of fresh cheese.
That is enough for several meals and snacks.
The texture was soft, creamy, and easy to spread.
It worked well on toast, crackers, salads, and even mixed into pasta dishes.
Best of all, I knew exactly what was in it.
No preservatives.
No unnecessary ingredients.
And no extra sodium.
For someone managing heart failure, that peace of mind is priceless.
Ways to Enjoy Your Homemade Cheese
One of the best things about fresh homemade cheese is how versatile it is.
Because it has a mild and creamy flavor, you can use it in many different meals and snacks.
Here are some easy ideas:
- Spread it on warm whole grain toast.
- Crumble it over fresh salads.
- Add it to scrambled eggs or vegetable omelets.
- Mix it into pasta for extra creaminess.
- Top baked potatoes or roasted vegetables with it.
- Use it as a filling for wraps or sandwiches.
- Enjoy it with fresh fruit, cucumber slices, or unsalted crackers.
- Blend it with herbs, garlic, or black pepper for a simple dip.
Since this cheese is low in sodium and free from preservatives, it is an easy way to add protein and flavor to your meals.
Store your cheese in an airtight container in the refrigerator and enjoy it within three to five days for the best taste and texture.
Final Thoughts: My First Attempt Was a Success
Making homemade cheese had been on my to-do list for a long time.
I thought it would be difficult.
I thought I needed special equipment.
I thought I would make mistakes.
But I was wrong.
With just whole milk, lemon juice, and a thermometer, I created fresh, delicious cheese right at home.
The process was simple, affordable, and rewarding.
Most importantly, it gave me control over what I eat.
Living with a heart condition means making thoughtful choices every day.
Homemade cheese is one small change that can make a big difference.
If you have been thinking about trying it, this is your sign.
Grab some milk, squeeze a few lemons, and give it a try.
You might be surprised by how easy it is—and how proud you feel when you taste that first bite of cheese you made yourself.
Watch Full Video on Youtube: